Setting up an SMTP relay with cPanel doesn't have to be complicated. It's the kind of task that anyone can do, regardless of their level of technical expertise. Don't let its daunting name put you off—with a few simple clicks, you'll be relaying emails like a pro!
1. Login on WHM
To access your server, please navigate to https://yourserverdomain.com:2087 (replace yourserverdomain.com with the IP address of your server).
2. Add SPF include host
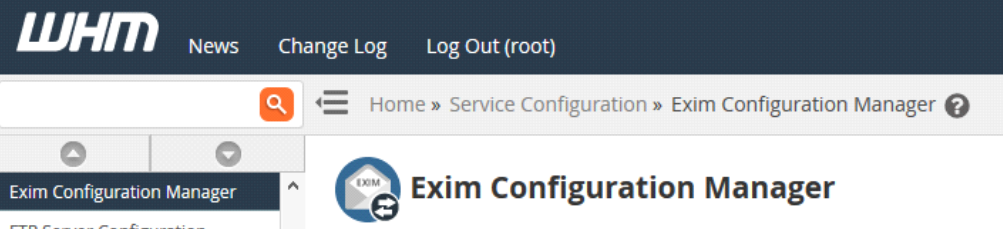
To set up the SPF include hosts for all domains on your WHM system, go to Main > Service Configuration > Exim Configuration Manager. In the Basic Editor section, look for "SPF include hosts for all domains on this system" and change its setting from "None" to `_spf.smtprelay.yourdomaiin.com`.
Click save.
3. Configure the MTA
When you navigate to Main > Service Configuration > Exim Configuration Editor, click the Advanced Editor button and look for “Section: POSTMAILCOUNT.” Then add the following information on that page.
smart_route:
  driver = manualroute
  domains = ! +local_domains
  ignore_target_hosts = 127.0.0.0/8
  transport = remote_smtp
  route_list = * smtprelay.yourdomain.com::587
  no_more
Should the "Section: POSTMAILCOUNT" not be present...
Look for “Section: ROUTERSTART” and then insert the following text.
smart_route:
  driver = manualroute
  domains = ! +local_domains
  ignore_target_hosts = 127.0.0.0/8
  transport = remote_smtp
  route_list = * smtprelay.yourdomain.com::587
  no_more
Otherwise...
4. Save changes!
With these simple steps, you've now successfully set up SMTP relay with cPanel. With this setup in place, emails sent from your domain will be relayed through the remote server of your choice instead of being blocked by spam filters due to a lack of authentication or security protocols. We hope that this article has been helpful and informative :)
