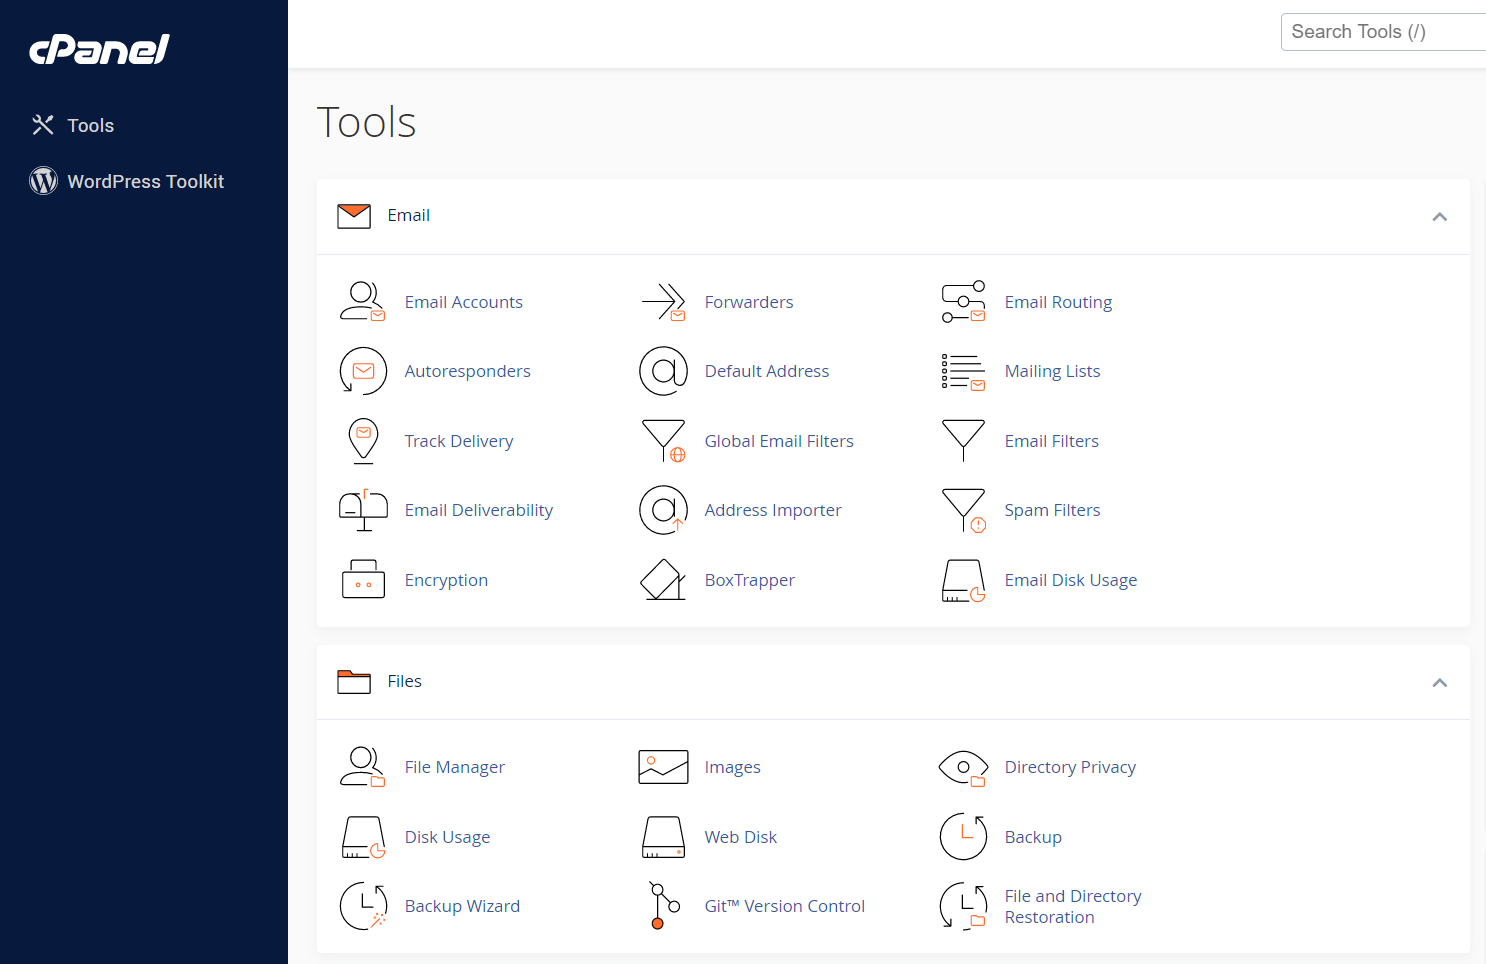
In this guide, we’ll show you the steps to install cPanel and WHM on a CentOS 7 server. This will allow you to manage the hosting of websites, FTP accounts, emails, and more from one intuitive control panel. Let’s get started!

Server Requirements
Before you start, double-check that your server is compatible with cPanel & WHM by meeting their minimum requirements: A valid cpanel license, 512 MB RAM, 20GB hard drive, and the CentOS 7 operating system.
Additionally, cPanel is written in perl, so you need to make sure perl is installed too.
yum install perl
Install Server Hostname
Next, you need to set up your server’s hostname. This is a critical step, as without a correctly established hostname, cPanel will not function. Run the following command as root user to accomplish this:
hostnamectl set-hostname your_new_hostname
Reconfigure servers timezone.
Once you've completed the above steps, it is critical to reconfigure your server's timezone. Use the command
tzselect
And select a suitable time zone for effective system operation.
Install cPanel & WHM
Now it’s time to install cPanel & WHM. To do this, run the following command as the root user:
cd /home && curl -o latest -L https://securedownloads.cpanel.net/latest && sh latest
This will begin the installation process. It may take several minutes to complete, so be patient and don’t interrupt it. Once the installation is done, you will see a success message.
Done!
Congratulations! You have successfully installed cPanel & WHM on your CentOS 7 server. Now you can use it to manage all aspects of your hosting environment from one control panel. Enjoy!


