Want to learn how to create a Debian virtual machine in Proxmox easily and set up its network connections? Then you're at the right place! This guide will take you step-by-step through creating your own Debian VM, setting up NATs, bridged networks, and host-only networks. Once this article is complete, you'll be an expert in configuring all of these settings with effortless proficiency. So let's get started!
Setup a VM
The first step is to create a new virtual machine and select "Debian" as the operating system. Once you do this, Proxmox will handle most of the heavy lifting for you. However, a few steps are still needed to get your network connections working properly.
First, you'll need to decide on a networking configuration. If you want to access your VM from the outside world, then you'll need to set up NATs or Bridge networks. Both of these will allow traffic to both in and out of your virtual machine. Alternatively, setting up a host-only network might be more appropriate if you are just looking for internal communication within your private network.
Configuring VMs settings

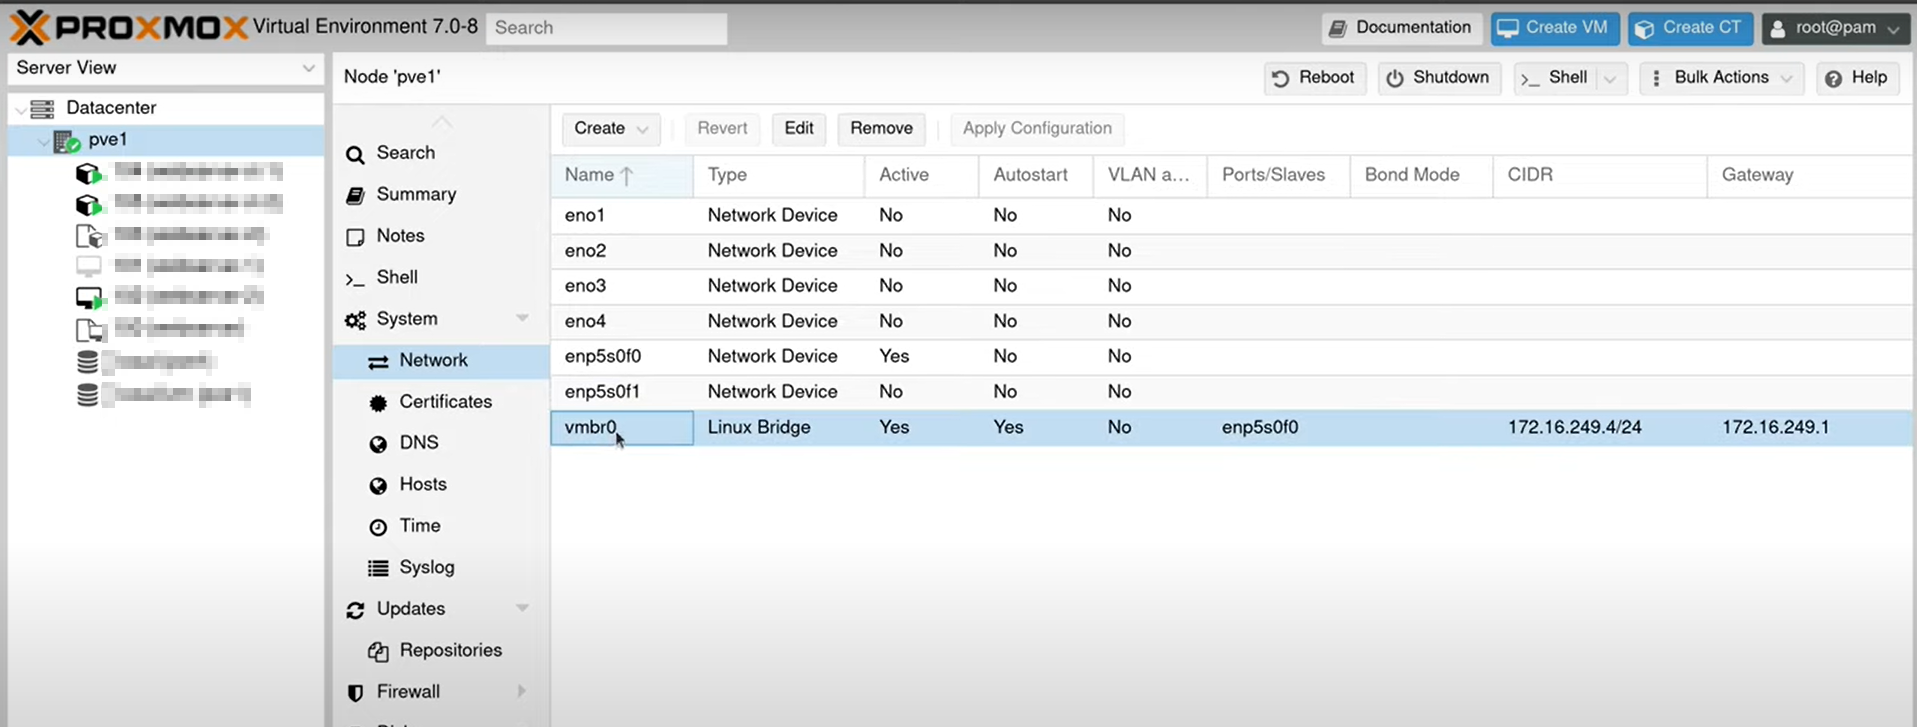
Once you have decided on a network configuration, the next step is configuring your VMs settings accordingly. This can usually be done through the Proxmox web interface by clicking "Network" under the advanced options. Here, you can select which type of connection you wish to use and any additional settings, such as static IP addresses.
Start your VM
Once you have finished configuring your network settings, the last step is to start up your virtual machine and test that everything is working properly. If all goes well, you should be able to access your VM from the outside world or other VMs in your private network, depending on the type of connection you set up.
Congratulations! You now have a fully functioning Debian VM with networking capabilities!
We hope this guide was helpful in getting you started with setting up networking for your Debian VM in Proxmox. Now go forth and make something amazing! Good luck!


